How to photograph Yosemite: Most people who visit Yosemite come back with mediocre photos. Not because the park is hard to shoot, but because they showed up without a plan.
They wandered the valley floor at noon, pointed their camera at Half Dome in flat light, and called it a day. You are going to do better than that.
Yosemite is one of the most photogenic places on the planet, and it rewards people who do two things: pick the right spots and show up at the right time. That is the whole formula. The park itself practically hands you the compositions. Your job is timing and positioning.
Before you pack the camera bag, understand one thing. Knowing everything about Yosemite National Park before you visit, from entry fees to seasonal access, is the foundation. Photography strategy comes on top of that. This guide handles the photography side.
Tunnel View
The single most important location in the entire park is Tunnel View. It sits just in front of the tunnel entrance on Wawona Road, and from that one vantage point you can frame El Capitan, the Three Brothers rock formation, Bridalveil Falls, and Half Dome all in a single composition.
Ansel Adams built a significant part of his legacy from images taken in this valley. When you stand there at sunrise with good cloud cover, you understand why immediately.
If you only have one morning in Yosemite, spend it here. Come before dawn, wait for the light, and stay until the haze clears.
Glacier Point
The second location serious photographers prioritize is Glacier Point. This is where you get close to Half Dome without hiking to it. You can drive close to the viewing area, which makes it practical for photographers carrying heavier gear.
From Glacier Point, you can include Nevada Falls, Vernal Falls, Clouds Rest, and the entire stretch of Yosemite Valley in your frame.
The challenge here is the same as most elevated viewpoints: you need interesting clouds or golden-hour light to make it sing. Flat midday sky turns this view into a postcard. Dramatic weather turns it into something worth printing at 30 by 24.
Taft Point
On the same road as Glacier Point, you can access two more spots that most casual tourists skip entirely. Taft Point requires a moderate 1.1-mile hike from the parking area, but the payoff is a full panoramic view of the Yosemite Valley from an elevation that will make your legs feel the exposure even before you raise your camera.
Sentinel Dome
Sentinel Dome is a similar distance and is probably the most underrated viewpoint in the park. It looks like a miniature Half Dome and the hike to the summit is manageable for most people.
The view from the top is 360 degrees, and the relative lack of foot traffic compared to Glacier Point makes it a better choice for photographers who want breathing room to work.
Yosemite Falls
Yosemite Falls is the kind of subject that looks effortless but rewards patience. Because of its height, you can capture it from multiple positions throughout the valley.
The upper falls stands at 1,430 feet and is visible from the valley floor with a clear blue sky as your backdrop. Come in spring for the highest water flow, but do not count out summer or fall, when the light quality improves and the crowds begin to thin.
Half Dome
Half Dome is unavoidable. You will photograph it from multiple angles whether you plan to or not, because it appears in the frame almost everywhere you point your camera in the valley. If you want a dedicated shot, your best option remains Glacier Point for proximity.
But if you want the iconic silhouette or the granite reflection in the Merced River, position yourself on the valley floor in the early morning and work the light as it shifts.
El Capitan
El Capitan deserves a standalone mention. It is the largest granite monolith in the world if you factor in the portion below ground, and its sheer scale means it photographs differently depending on where you stand.
From the valley floor at Cook’s Meadow, you get an unusual and less replicated angle. From Tunnel View at sunset, it becomes the dominant element in a composition where everything else plays a supporting role.
Bridalveil Fall
Do not underestimate Bridalveil Falls. It runs year-round, which already makes it unusual among Yosemite’s waterfalls.
The best way to photograph it is from Tunnel View using a moderate telephoto focal length, with Half Dome visible in the background. You can also hike up close and feel the mist, which gives you a completely different kind of image with a more intimate scale.
The Merced River
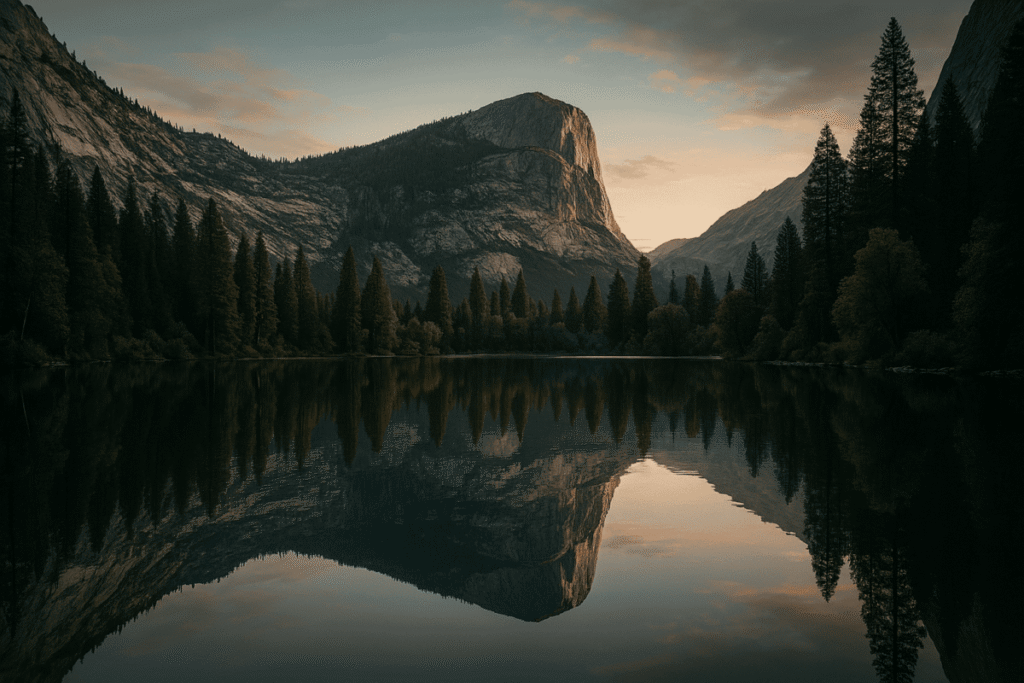
The Merced River and the valley floor roads are often overlooked because they feel ordinary. They are not. The U-shaped valley geometry creates natural framing opportunities along both Northside and Southside Roads.
Reflections of El Capitan in the river on calm mornings are among the most reproduced Yosemite images in existence, and for good reason. If you have time after hitting the major viewpoints, drive slowly along the valley floor and stop whenever the composition calls for it.
On camera settings: for wide-angle shots during daylight, 1/125 second shutter speed at f/8 gives you sharp, focused results with no motion blur. Shift to 1/250 second or faster for telephoto shots where camera shake becomes a bigger factor.
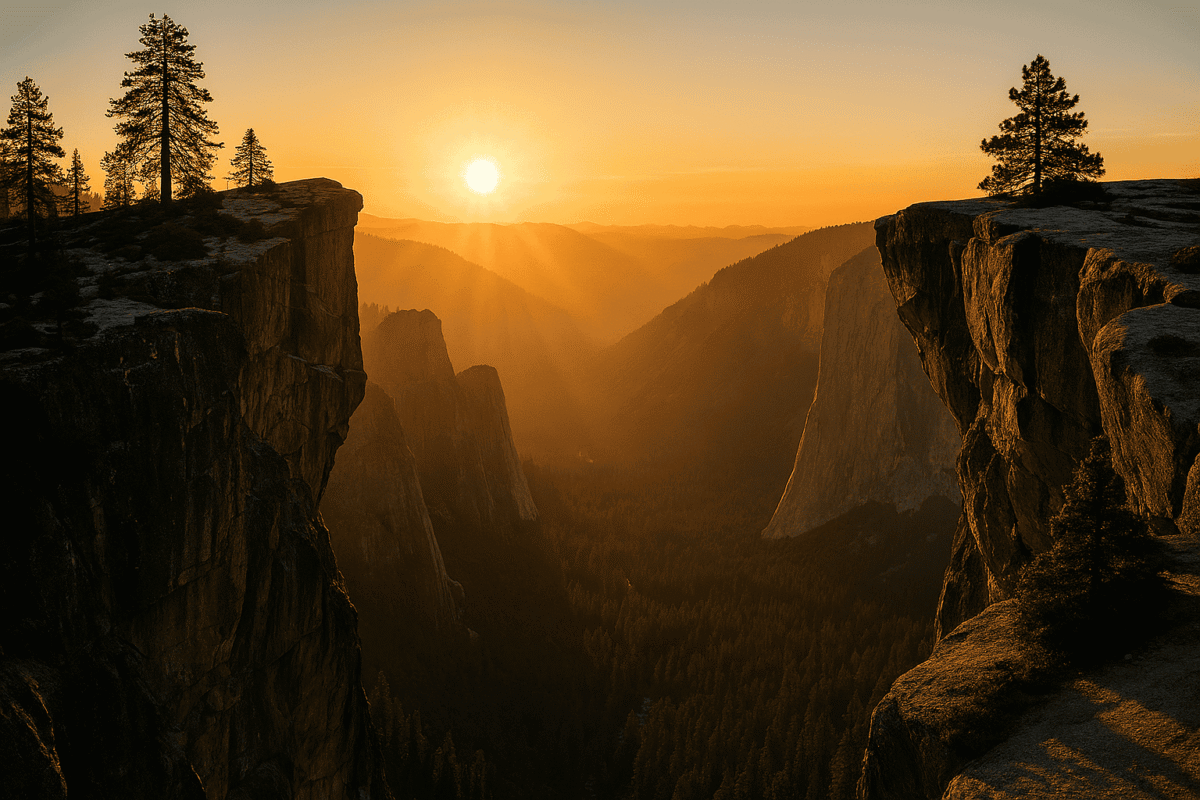
For sunrise and sunset, bracket your exposures and shoot in RAW so you have flexibility in post-processing, especially if haze or smoke from controlled burns affects the contrast.
The best time of day is early morning before the crowds arrive and late afternoon as the light goes golden. Winter, spring, and fall give you cleaner atmospheric conditions than summer.
Summer brings the most visitors and the haziest skies, but it is also when waterfalls are accessible and trail permits for Half Dome are in effect.
One practical note: you do not need a special photography permit for personal use or to sell images you capture there. Standard entry passes cover everything a personal photographer needs.
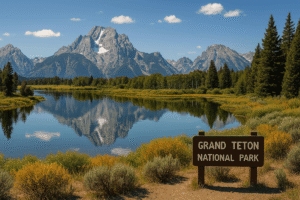
If you are building out an American national parks itinerary and want to pair Yosemite with equally photogenic destinations, take a look at what Tadexprof covers on Grand Teton National Park, which offers a completely different landscape texture but the same golden-hour reward for early risers.
The Rocky Mountain National Park guide is also worth your time if you are moving through Colorado. And if you are looking at the American West as a broader photography circuit, the piece on Bryce Canyon National Park covers a geology that looks like no other place on the continent.
Yosemite does not require you to be a professional photographer. It requires you to be an intentional one.
Plan your locations the night before. Wake up early. Stay past what feels comfortable.
The difference between an average Yosemite photo and a remarkable one is almost never the camera. It is the hour you chose to stand in front of the scene.
If you want more context on the geology and history of what you are actually photographing, the Traveling Photographer’s Yosemite guide covers the technical side of each hotspot with the experience of someone who has shot the park across multiple visits.